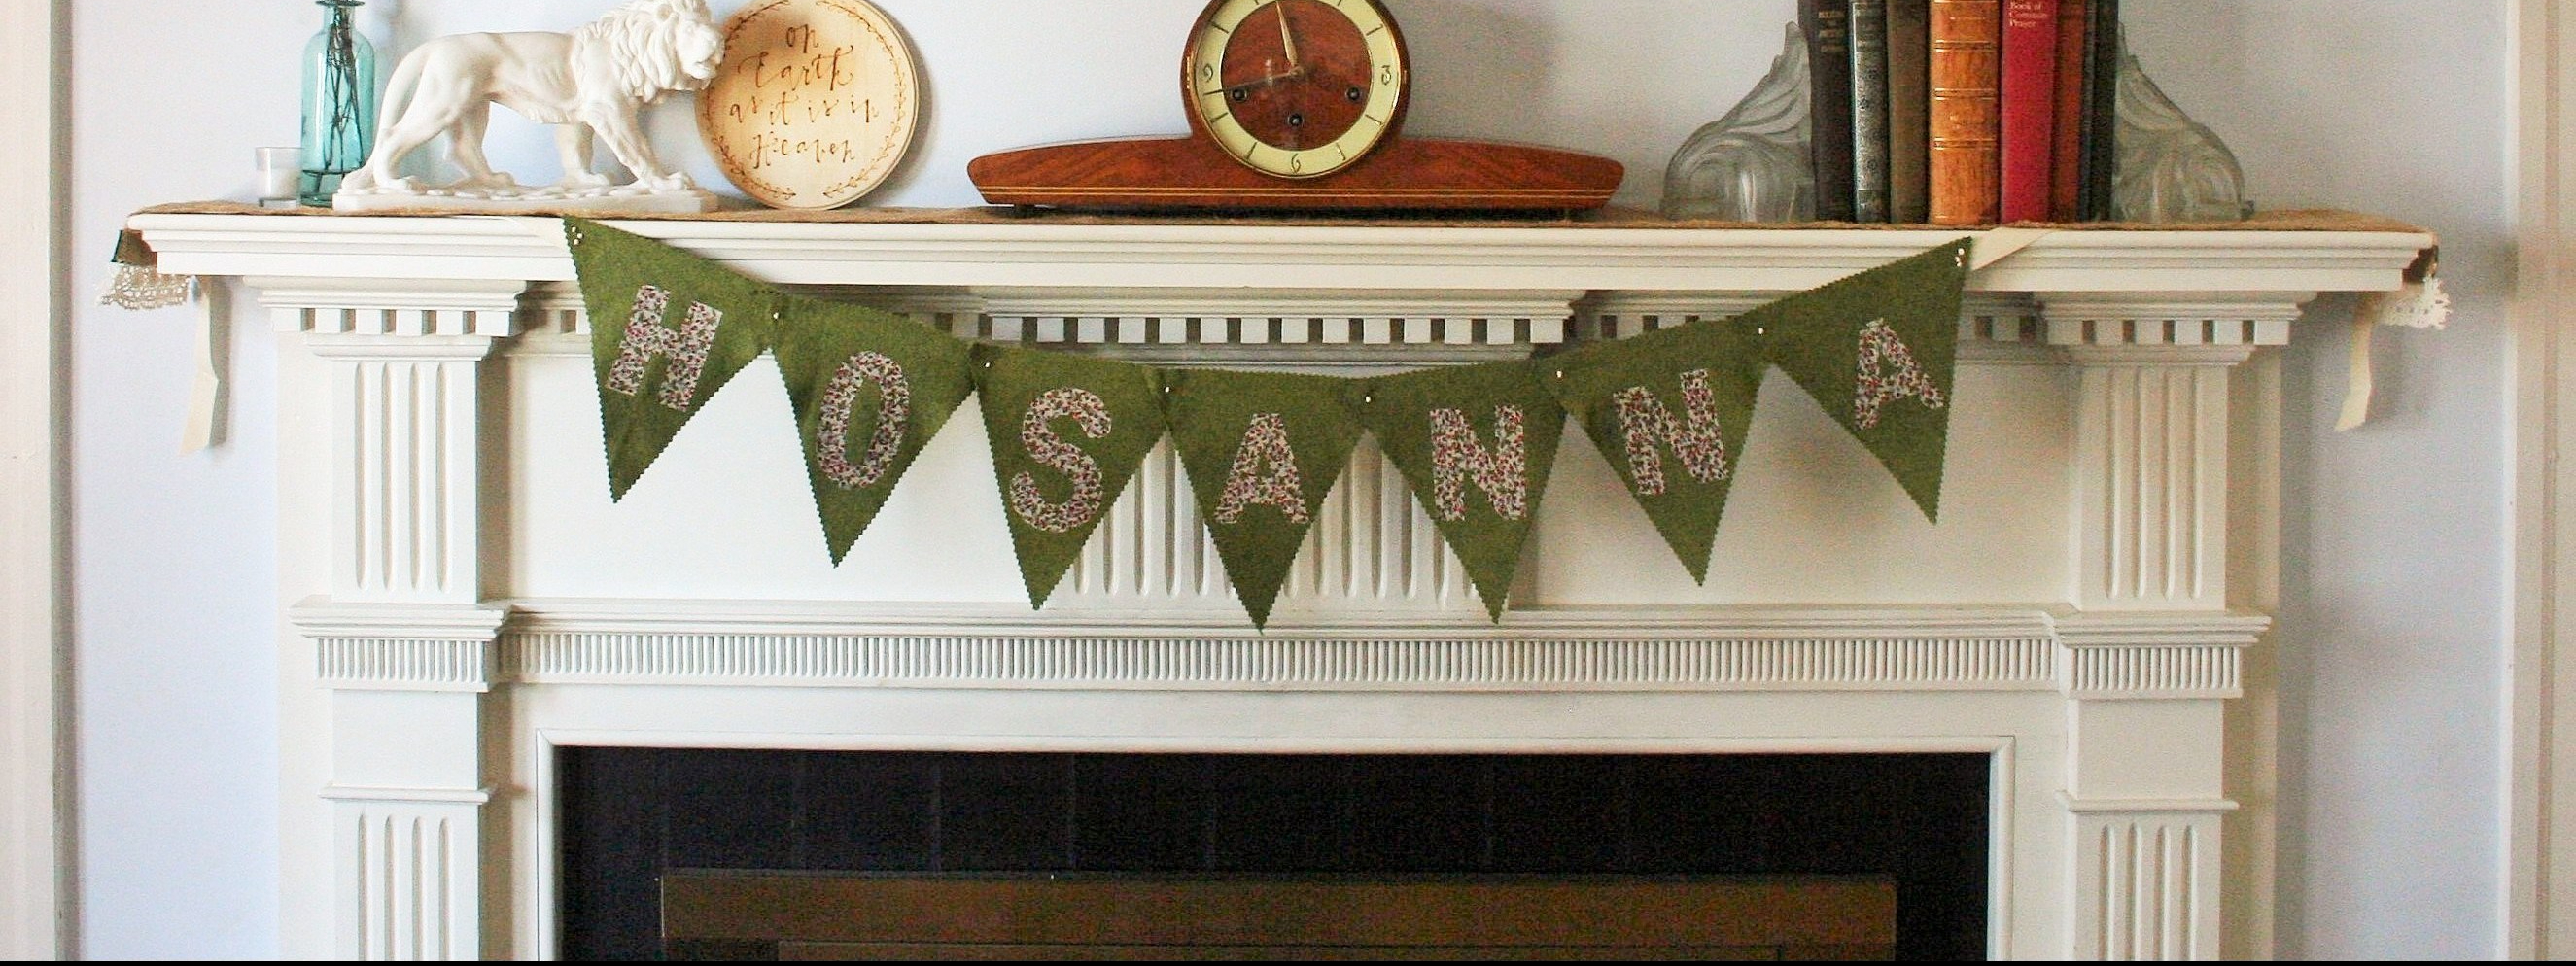
I created this banner to usher in the Easter Resurrection season, to remind us of the crowd that shouted “Hosanna!”, a shout of praise of adoration.
This banner is easy to make and does not require a sewing machine!
What you need:
- Heat n Bond (fusible adhesive)
- Felt
- Contrasting fabric
- Ribbon or twill tape
- Embroidery floss & needle
- Pinking shears or straight fabric scissors
Step 1: Determine how large you want you banner to be and cut out a triangle pattern. Mine are 7″ x 7″ x7″ the 7 triangles span 40″ not including the hanging ribbon.
Step 2: Choose your word or phrase and cut out the needed number of triangles with pinking shears or straight scissors. I used Felt because it is inexpensive and does not fray on the edges. That means you do not have to turn over and sew or finish the edges.
Step 3: Draw or print a wide font pattern of the letters you need to make a pattern. You could even let the children draw the letters so you would have their handwriting to keep.
Step 4: Cut letters out in reverse on the flat side of the Heat n Bond/Fusible Adhesive. One side is bumpy, not that side. This is a great tutorial explaining this step so that you don’t end up with backward letters!
Step 5: Peel backing off adhesive and iron letter right side up onto contrasting fabric. The letter should be facing you in the right direction. Repeat for each letter or symbol.

Step 6: Line up the edges of each triangle, slightly overlapping each other. Using your embroidery floss and needle, connect each corner by sewing a french knot.
Step 7: Determine how long you want the string (ribbon or twill tape) on each end in order to hang or display your banner. Cut to length. With the string behind the end triangles, connect them with 3 french knots or sewing X X X’s. And you’re done!

Please send your pictures if you use this tutorial!
I’d love to see them, especially if you incorporate your children’s help on this project!

